
Use Django and the Dev.to API to Display Posts

As a developer, you may be wondering if you need a blog. To be honest, I have been blogging for a while, and all I can tell you is that having a blog on your website has immense benefits. Let's just say that you have a website where you have a portfolio and you sell products or services. How can you drive more traffic to your website so that potential recruiters or customers can discover your products or services?
The best way to drive traffic to your website is by having a blog with useful content. A blog with useful content shows your audience and customers that you are a trusted source of information.
However, to have a blog on your website, you need a Content Management System which is abbreviated as CMS. A CMS is a software solution that helps someone create, manage, and modify content on a website without the need for specialized technical knowledge.
Most CMSs are paid and if you want to save a few dollars, a paid CMS is the last thing you want. In this article, I will show you how to add a blog to your website without having to spend a cent. I will be using Django, the Dev.to API, PostgreSQL, and the Arctype SQL Client.
What is Dev. to, Django, and Postgres?
Dev.to is a blogging platform where developers publish articles on topics that help other developers solve a problem or learn something new. Dev.to serves as a community of software developers getting together to help one another out. Django is a free and open-source Python-based web framework that follows the model-template-views architectural pattern. Django encourages rapid development and clean, pragmatic design.
PostgreSQL, also known as Postgres, is a free and open-source relational database management system emphasizing SQL compliance.
Prerequisites
First things first, to be able to follow through with this tutorial, you need a text editor installed on your machine. In this case, I will be using Visual Studio Code editor but you can use the code editor of your choice. Also, make sure that Python and PostgreSQL are installed on your machine.
Project Setup
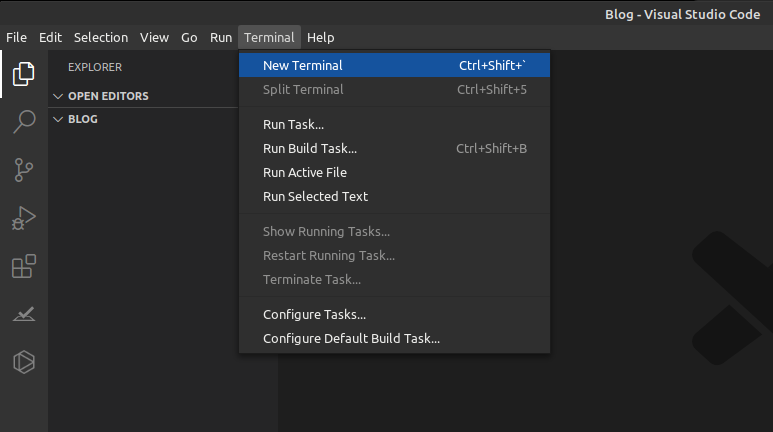
To get started with this tutorial, create a folder named Blog on your machine. Right-click on the folder and open it with the Visual Studio Code text editor or a text editor of your choice. When using Visual Studio Code, click the terminal option at the top and select New Terminal as shown below.
Let us now install Django in our Blog Django project. To install Django, we will use a packaging tool for python called Pipenv. Pipenv is used to manage virtual environments in Django projects. You can install Pipenv to your machine by using this guide. Now run the command below to install Django in your project:
pipenv install django
Then create a virtual environment in the project by running the command shown below.
pipenv shell
Now you should see parentheses around Blog on your command line as shown below.
((Blog))
The parentheses around Blog indicates that the virtual environment has been activated.
Let us now create a new Django project called Articles by running the command shown below. Don’t forget the period (.) at the end.
django-admin startproject Articles .
Now run the command shown below and then visit http://127.0.0.1:8000:
python manage.py runserver
You should see the Django welcome page as shown below.

Let us now create an app called posts in our Django project. From the command line, quit the server with control+c. Then run the command shown below.
python manage.py startapp posts
On your Visual Studio Code editor window, click the Articles folder and open the settings.py file as shown below.

In the settings.py file, scroll down to the INSTALLED_APPS section where you will see six built-in Django apps already there. Add our new posts app at the bottom as shown below.
INSTALLED_APPS = [
   'django.contrib.admin',
   'django.contrib.auth',
   'django.contrib.contenttypes',
   'django.contrib.sessions',
   'django.contrib.messages',
   'django.contrib.staticfiles',
   'posts',  # new
]
Setting Up Postgres
After installing Postgres in your machine, run the command below to confirm the installation.
psql --version
You should be able to see the version of Postgres installed into your system. Now run the command shown below to open Postgres prompt.
sudo -u postgres psql postgres
Once PostgreSQL has opened on command line, run the command below to set a password for it.
\password postgres
To quit the PostgreSQL prompt, run the command shown below.
\q
To open the Postgres prompt again, run the command shown below and enter the password you set for postgres.
psql -U postgres -W
Let us now create a database in Postgres that will be used to store posts for our blog project by running the command below.
CREATE DATABASE posts;
Then run the command shown below to see if the database you created is on the list of databases in Postgres.
\l
As you can see from the screenshot below, the post database was created in PostgreSQL.

Integrating Postgres With Django
Let us install the psycopg2 package that will allow us to use the Postgres database we created by running the command below.
pipenv install psycopg2
Open the settings.py file in the Articles folder and scroll down to DATABASES section that looks as shown below.
DATABASES = {
   'default': {
       'ENGINE': 'django.db.backends.sqlite3',
       'NAME': BASE_DIR / 'db.sqlite3',
   }
}
The project is configured to use SQLite as a database. What you need to do is change this so that the project can use the Postgres database we created instead.
Change the engine so that it uses the Postgres adaptor instead of the sqlite3 adaptor. For the NAME, use the name of your database where in this case it is posts. You also need to add login credentials for your database.
The USER should be postgres and PASSWORD should be the password you set for postgres. The DATABASES section of the settings.py file should now look as shown below.
DATABASES = {
   'default': {
       'ENGINE': 'django.db.backends.postgresql',
       'NAME': 'posts',
       'USER': 'postgres',
       'PASSWORD': 'password',
       'HOST': 'localhost',
       'PORT': '',
   }
}
Django Models
Let us now create a Django model that defines fields of data that we want stored in the Postgres database. To create the model, navigate to the models.py file in the posts folder as shown below.

Your models.py file should now look as shown below.
from django.db import models
import datetime


class Article(models.Model):
   title = models.TextField(blank=True)
   description = models.TextField(blank=True)
   cover_image = models.TextField(blank=True)
   article_body = models.TextField(blank=True)
   published_at = models.DateTimeField(
       default=datetime.date.today, blank=True, null=True)

   def __str__(self):
       return self.title
Let us create and apply migrations to our database by running the commands below.
python manage.py makemigrations
python manage.py migrate
Let us now register the model by opening the admin.py file in the posts folder. The admin.py file should now look as shown below.
from django.contrib import admin
from django.contrib.auth.admin import UserAdmin

from .models import Article


class ArticleAdmin(admin.ModelAdmin):
   list_display = ('id', 'title')


admin.site.register(Article, ArticleAdmin)
The next step is to create an admin account by running the command below. You will be asked to to select a username, provide an email address, choose and confirm a password for the account.
python manage.py createsuperuser
Django Views
Now visit Dev.to API documentation to learn how to get the API key together with various API endpoints. On the left side of the web page, select the Authentication section to learn how to get an API key.

Then below the authentication section, select articles section. Scroll down the drop-down menu to User’s published articles. This is the endpoint that allows the client to retrieve a list of published articles on behalf of an authenticated user.

On the right side of the page, you can see the request samples that you can make to the Dev.to API.
Let us now create a python view function on the views.py file that makes http requests to Dev.to API as shown below.
from django.shortcuts import render
import requests
from .models import Article


def get_articles(request):
   all_articles = {}

   API_KEY = 'Your_API_KEY'

   url = 'https://dev.to/api/articles/me/published'

   headers = {'api-key': API_KEY}

   response = requests.get(url, headers=headers)

   data = response.json()

   for i, item in enumerate(data):
       article_data = Article(
           title=data[i]['title'],
           description=data[i]['description'],
           cover_image=data[i]['cover_image'],
           article_body=data[i]['body_markdown'],
           published_at=data[i]['published_at']
       )

       article_data.save()

       all_articles = Article.objects.all().order_by(
           '-published_at').distinct('published_at')

       return render(request, "blog.html", {"all_articles": all_articles})
In order to display the body of the article, we will need to create another view function that queries the article by id.
def blogBody(request, id):
   article = Article.objects.get(id=id)

   return render(request, "blogBody.html", {"article": article})
Your views.py file should now look as shown below.
from django.shortcuts import render
import requests
from .models import Article


def get_articles(request):
   all_articles = {}

   API_KEY = 'Your_API_KEY'

   url = 'https://dev.to/api/articles/me/published'

   headers = {'api-key': API_KEY}

   response = requests.get(url, headers=headers)

   data = response.json()

   for i, item in enumerate(data):
       article_data = Article(
           title=data[i]['title'],
           description=data[i]['description'],
           cover_image=data[i]['cover_image'],
           article_body=data[i]['body_markdown'],
           published_at=data[i]['published_at']
       )

       article_data.save()

       all_articles = Article.objects.all().order_by(
           '-published_at').distinct('published_at')

       return render(request, "blog.html", {"all_articles": all_articles})


def blogBody(request, id):
   article = Article.objects.get(id=id)

   return render(request, "blogBody.html", {"article": article})
Django URLs
Now we need to configure the urls of our project by creating a new urls.py file in the posts folder. The urls.py file should now look as shown below.
from django.urls import path
from .views import blogBody


urlpatterns = [
   path("blog", blog, name="blog"),
   path("article/<int:id>", blogBody, name="article"),
]
The last step is to update the Articles/urls.py file - the file should look as follows.
from django.contrib import admin
from django.urls import path, include

urlpatterns = [
   path('admin/', admin.site.urls),
   path("", include("posts.urls"))
]
Django Templates
Create a directory called templates, then create two HTML files called blog.html and blogBody.html like so.
mkdir templates
touch templates/blog.html
touch templates/blogBody.html
Let us now update Articles/settings.py file to tell Django the location of our new templates directory. This is a one-line change to the setting ‘DIRS’ under the Templates section as shown below.
TEMPLATES = [
   {
       'BACKEND': 'django.template.backends.django.DjangoTemplates',
       'DIRS': [os.path.join(BASE_DIR, 'templates')], #new
       'APP_DIRS': True,
       'OPTIONS': {
           'context_processors': [
               'django.template.context_processors.debug',
               'django.template.context_processors.request',
               'django.contrib.auth.context_processors.auth',
               'django.contrib.messages.context_processors.messages',
           ],
       },
   },
]
Don’t forget to specify import os at the top of the settings.py file or you will get an error that os is not defined. Your templates/blog.html file should now look as shown below.
{% for article in all_articles %}
<img src="{{article.cover_image}}" alt="">
<h4>{{article.title}}</h4>
<p>{{article.description}}</p>
<a href="{% url 'article' article.id %}">Read More...</a>
{% endfor %}
Navigate to 127.0.01:800/blog and you should see articles from Dev To as shown below.

The Article Body
When we make the API call, the article body is fetched as article markdown. The markdown is received from the API as a string. This means it will look like the raw content you enter on DEV To, rather than the preview/published version (i.e. with all the markdown syntax like ## for headings). To display it on your website as it appears on DEV To, you'll need to add an extra step to turn the string markdown into HTML. There are a lot of markdown parsing libraries that can do this for you but in this project, we will use a markdown parsing library for Django called Markdown.
To use Markdown we will need to install it into our project using the command below:
pipenv install markdown
Let us create a custom template filter that uses Markdown. Create a templatetags directory within our posts app and then a markdown_extras.py file as shown below.
mkdir posts/templatetags
touch posts/templatetags/markdown_extras.py
The file itself will import the markdown package and use the fenced code block extension.
# posts/templatetags/markdown_extras.py
from django import template
from django.template.defaultfilters import stringfilter

import markdown as md

register = template.Library()


@register.filter()
@stringfilter
def markdown(value):
   return md.markdown(value, extensions=['markdown.extensions.fenced_code'])
Now let us load the custom filter into our template so that content written in Markdown will be outputted as HTML. Our blogBody.html file should now look like this:
{% load markdown_extras %}

<h4>{{article.title}}</h4>
<img src="{{article.cover_image}}" alt="">
<span>{{article.published_at }}</span>
<p>{{article.article_body | markdown | safe}}</p>
Navigate to 127.0.01:800/blog and click the read more button at the bottom. You should be redirected to the article body as shown below.

Querying Postgres Data Using Arctype SQL Client
To view or interact with blog data stored in PostgreSQL, you can use a SQL client and database management tool like Arctype. To use Arctype, navigate to Arctype homepage and download the Arctype app onto your machine. At present, Arctype supports Linux, Windows, and MacOS:

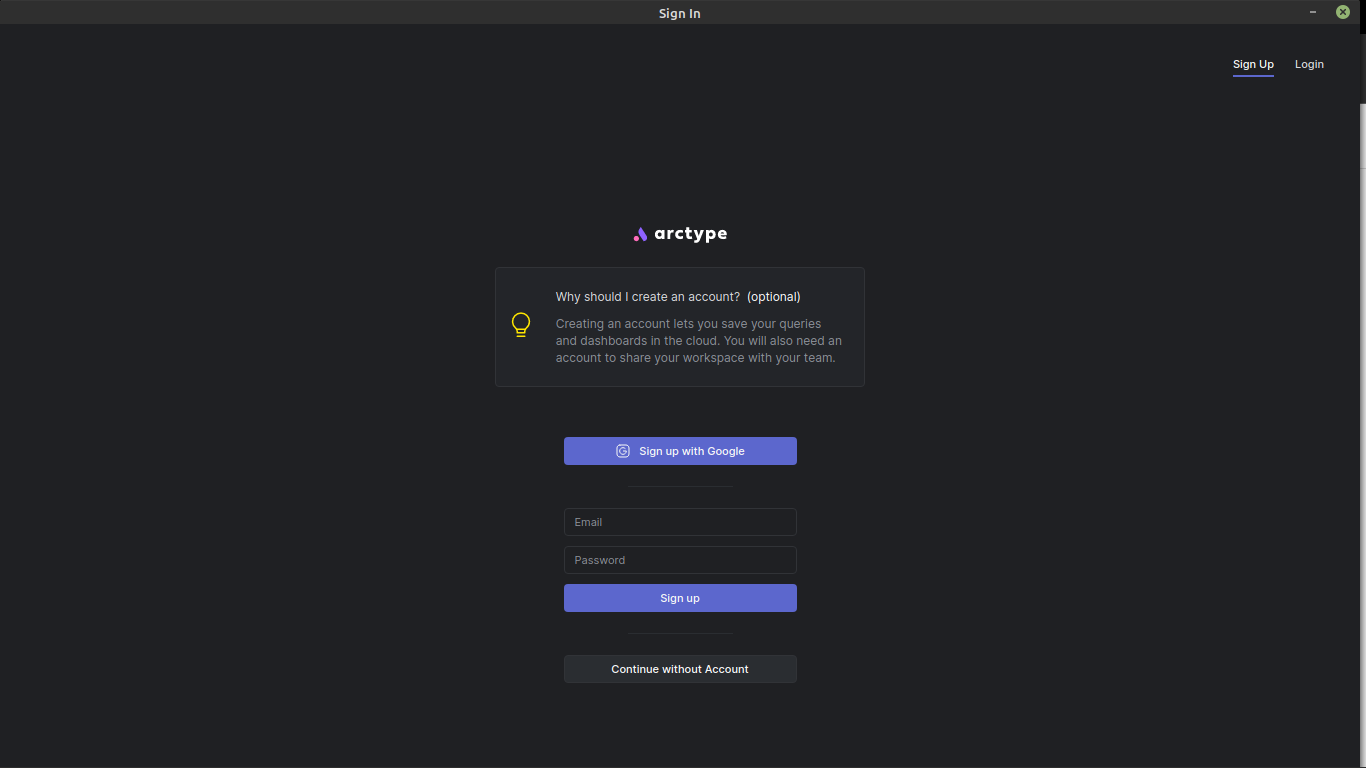
Once the app has been installed, open it and you will be prompted to create an account as shown below.
Once you have created an account, you will be prompted to select your database. In this case, select Postgres.

The next step is to add Postgres credentials to connect Arctype to your Postgres database. Use the credentials you created when created a database in the Postgres prompt.

Once the database connection is successful, you should be able to access tables in the posts database in Postgres as shown below.

If you want to learn how to create and run queries in Arctype, check out this guide.
Conclusion
In this article, you've learned how to create a blog on your website without having to use a paid content management system or creating one from scratch. I've walked you through the steps to successfully display Dev.to posts on your blog using Django and the Dev.to API. All of the code provided in this blog is available on GitHub, if you've enjoyed this article make sure to stick around the Arctype blog for more content, and until next time.


